Mail and SMS in Flutter

Mails are the most popular means of official textual communication, followed by SMS. Companies use various ways to communicate with both staff and customers. This prompted app developers to integrate mailing and SMS services into their apps.

In this article, you will learn how to create your Mail and Sms in Flutter. So let’s take one example of the Mail and Sms in Flutter of Mobile application.


Step-by-Step Implementation


Step 1: Create a New Project in Android Studio (File >new flutter project).


Step 2: Adding material package

Import method the runApp method in the main function call first while run the application.

 import 'package:flutter/material.dart';

 void main() {

     runApp(RunMyApp());

 }

Step 3: Creating a stateless widget  

 We can create a stateless widget that contains MaterialApp widget,AppBar,etc.

 class RunMyApp extends StatelessWidget {

     const RunMyApp({super.key});  

    @override

    Widget build(BuildContext context) {

    return MaterialApp(home);

     }

 }

Step 4: Add a package in flutter dependencies. What you need to do is place it under the dependencies: inside the pubspec.yaml file.
 dependencies:
flutter:
sdk: flutter
url_launcher:
Step 5: Below code write when doing the sms ans mail of other in a flutter.
  • SMS
 sendingSMS() async {
var url = Uri.parse("sms:121212121212");
if (await canLaunchUrl(url)) {
await launchUrl(url);
} else {
throw 'Could not launch $url';
}
}
  •  Mail
  sendingMails() async {
   var url = Uri.parse("mailto:test@candidrootsolutions.org");
if (await canLaunchUrl(url)) {
await launchUrl(url);
} else {
throw 'Could not launch $url';
}
}


Step 6: Final code 
 import 'package:flutter/material.dart';
import 'package:url_launcher/url_launcher.dart';

void main() {
runApp(HomeScreencall());
}

sendingSMS() async {
var url = Uri.parse("sms:121212121212");
if (await canLaunchUrl(url)) {
await launchUrl(url);
} else {
throw 'Could not launch $url';
}
}

sendingMails() async {
var url = Uri.parse("mailto:test@candidrootsolutions.org");
if (await canLaunchUrl(url)) {
await launchUrl(url);
} else {
throw 'Could not launch $url';
}
}

class HomeScreencall extends StatelessWidget {
const HomeScreencall({Key? key}) : super(key: key);

@override
Widget build(BuildContext context) {
return MaterialApp(
home: Scaffold(
// AppBar
body: SafeArea(
child: Center(
child: Column(
children: [
Container(
height: 50.0,
),
Container(
child:
Image.asset("assets/images/company_logo.png", width: 100),
),
Container(
height: 50.0,
), //Container
const Text(
'Welcome to \n CandidRoot Solutions!',
textAlign: TextAlign.center,
style: TextStyle(
fontSize: 20.0,
color: Colors.blue,
fontWeight: FontWeight.bold,
),
), //Text
Container(
height: 20.0,
),

Container(
height: 20.0,
),

ElevatedButton(
onPressed: sendingSMS,
style: ButtonStyle(
padding:
MaterialStateProperty.all(const EdgeInsets.all(10.0)),
textStyle: MaterialStateProperty.all(
const TextStyle(color: Colors.black),
),
),
child: const Text('Click To Send Message'),
),
Container(
height: 10.0,
),
ElevatedButton(
onPressed: sendingMails,
style: ButtonStyle(
padding:
MaterialStateProperty.all(const EdgeInsets.all(10.0)),
textStyle: MaterialStateProperty.all(
const TextStyle(color: Colors.black),
),
),
child: const Text(' Click To Send Email '),
),
],
),
),
),
),
);
}
}
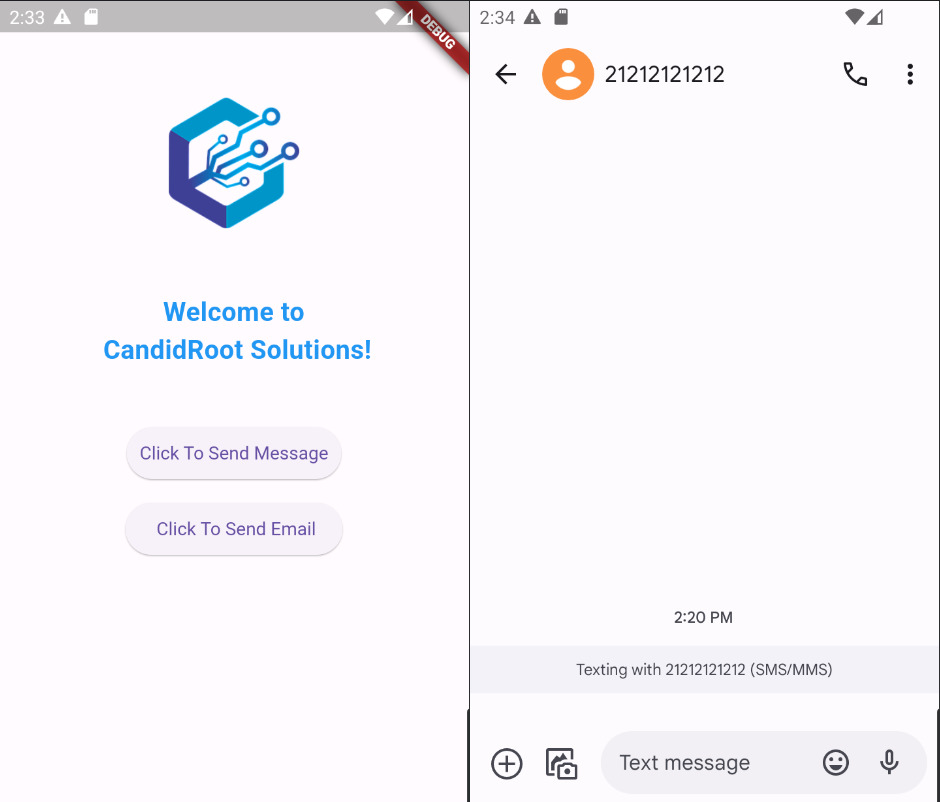
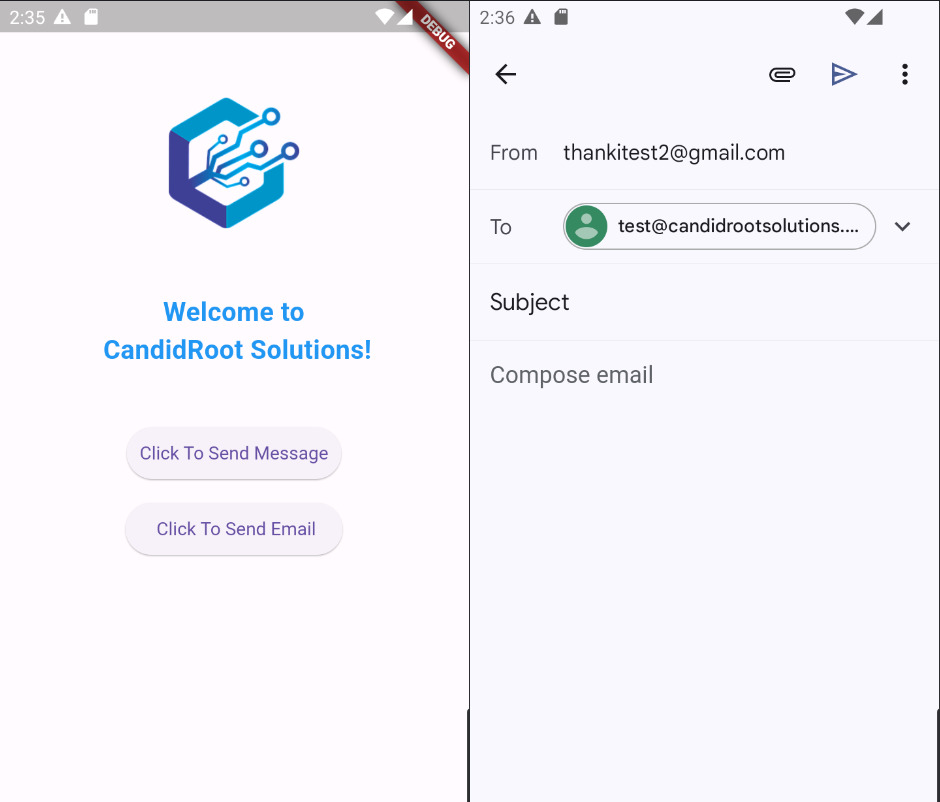
Step 7: Output of above example 
  • SMS


  • Mail


Happy coding!

365Bloggy June 11, 2024
Share this post
Tags
SUBSCRIBE THIS FORM


Archive