How to Call a Method After a Delay in Android?

In Android, Handlers are used to handle and manage runnable objects. The Handler class is responsible for trigger execution. Handlers are used to manage processes that run in the background. A Handler can also be used to create a delay before executing a function using the post delay function on mobile applications.


Step-By-Step Implementation


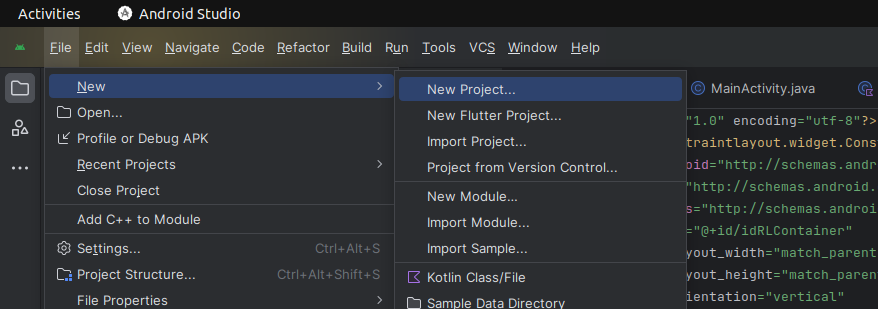
Step 1:Create a new project in Android or you can use an already created project.  


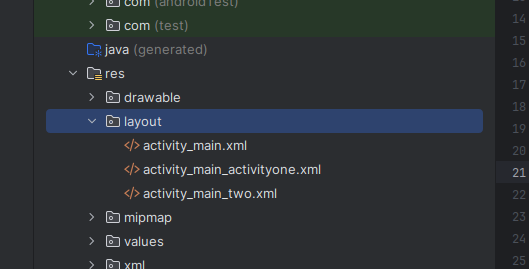
Step 2: Create an XML file named Acitivity_main.xml in layout folder.


Step 3: Acitivity_main.xml file continent Design of screen like button, text view, etc.
 <?xml version="1.0" encoding="utf-8"?>
<androidx.constraintlayout.widget.ConstraintLayout
xmlns:android="http://schemas.android.com/apk/res/android"
xmlns:app="http://schemas.android.com/apk/res-auto"
xmlns:tools="http://schemas.android.com/tools"
android:id="@+id/idRLContainer"
android:layout_width="match_parent"
android:layout_height="match_parent"
android:orientation="vertical"
tools:context=".MainActivity">

<TextView
android:id="@+id/txtTitle"
android:layout_width="match_parent"
android:layout_height="wrap_content"
android:layout_margin="10dp"
android:layout_marginTop="80dp"
android:text="Candidroot solutions"
android:textAlignment="center"
android:textSize="18sp"
app:layout_constraintEnd_toEndOf="parent"
app:layout_constraintHorizontal_bias="0.842"
app:layout_constraintStart_toStartOf="parent"
app:layout_constraintTop_toTopOf="parent" />

<TextView
android:id="@+id/text_view_1"
android:layout_width="wrap_content"
android:layout_height="wrap_content"
android:layout_above="@id/button_1"
android:layout_centerHorizontal="true"
android:layout_marginTop="72dp"
android:text="0"
android:textSize="50sp"
app:layout_constraintEnd_toEndOf="parent"
app:layout_constraintHorizontal_bias="0.498"
app:layout_constraintStart_toStartOf="parent"
app:layout_constraintTop_toBottomOf="@+id/txtTitle" />

<Button
android:id="@+id/button_1"
android:layout_width="wrap_content"
android:layout_height="wrap_content"
android:layout_centerInParent="true"
android:layout_marginTop="112dp"
android:text="click"
app:layout_constraintEnd_toEndOf="parent"
app:layout_constraintHorizontal_bias="0.498"
app:layout_constraintStart_toStartOf="parent"
app:layout_constraintTop_toBottomOf="@+id/text_view_1" />

</androidx.constraintlayout.widget.ConstraintLayout>
Step 4: Create ActivityMain.java or kt in your project inside (com.my application).
 import android.os.Bundle
import android.os.Handler
import android.os.Looper
import android.view.View
import android.widget.Button
import android.widget.TextView
import android.widget.Toast
import androidx.appcompat.app.AppCompatActivity


class MainActivityone : AppCompatActivity() {
private var send_button: Button? = null

override fun onCreate(savedInstanceState: Bundle?) {
super.onCreate(savedInstanceState)
setContentView(R.layout.activity_main_activityone)
val mTextView = findViewById<TextView>(R.id.text_view_1)
//assign object of components
send_button = findViewById(R.id.button_1)

val mDelay: Long = 5000
//set click listener of button
send_button?.setOnClickListener { v: View? ->
Handler(Looper.getMainLooper()).postDelayed({
mStartCounter(mTextView, mDelay)
mSomeFUnction()
}, mDelay)
}
}

// display after the delay
private fun mSomeFUnction() {
Toast.makeText(applicationContext, "Toast is called post delay", Toast.LENGTH_SHORT).show()
}

// Function for displaying counter
private fun mStartCounter(view: TextView, delay: Long) {
Thread {
for (i in 0..delay / 1000) {
runOnUiThread {
view.text = i.toString()
}
Thread.sleep(1000)
}
}.start()
}
}


Happy coding!


365Bloggy May 22, 2024
Share this post
Tags
SUBSCRIBE THIS FORM


Archive