ChatGPT Like App in Android using Open API

ChatGPT is booming in the online market. ChatGPT provides answers to all your questions. Today, in this blog we will explore it with a simple ChatGPT-like Android application by using OpenAI API(ChatGPT) where you can ask questions and get answers. 

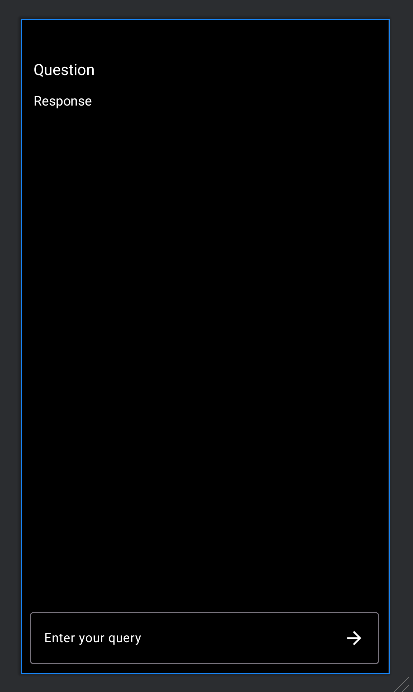
As we have created a demo application, let's take a look at its output and then proceed further to create a new project in Android Studio. 

Here is a step-by-step implementation.


Step 1: Create a new project in Android or you can use an already created project.  


or


Step 2: Add dependency of volley in build.gradle file on Gradle scripts > Build.gradle app module and add the below dependencies

 implementation ("com.android.volley:volley:1.2.0")
 //add the latest version of volley

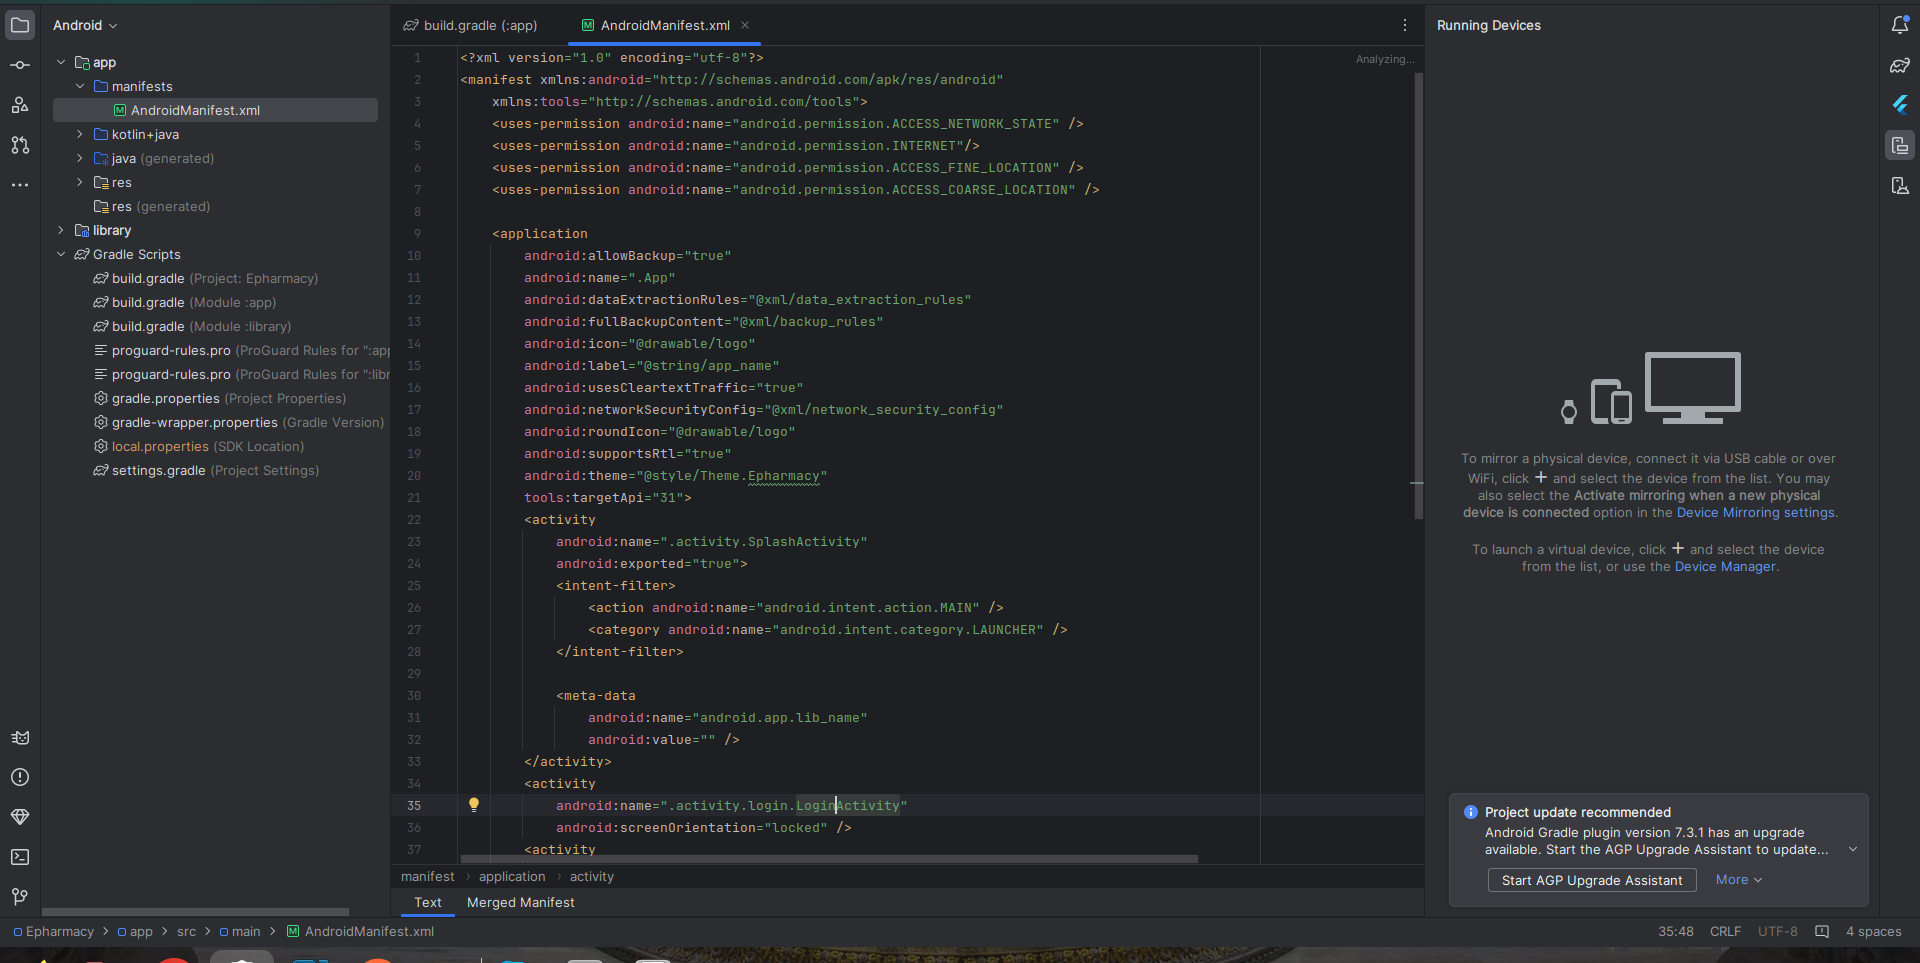
Step 3: Add permission to the internet in app> Androidmanifest.xml file and below code.


<uses-permission android:name="android.permission.INTERNET" />

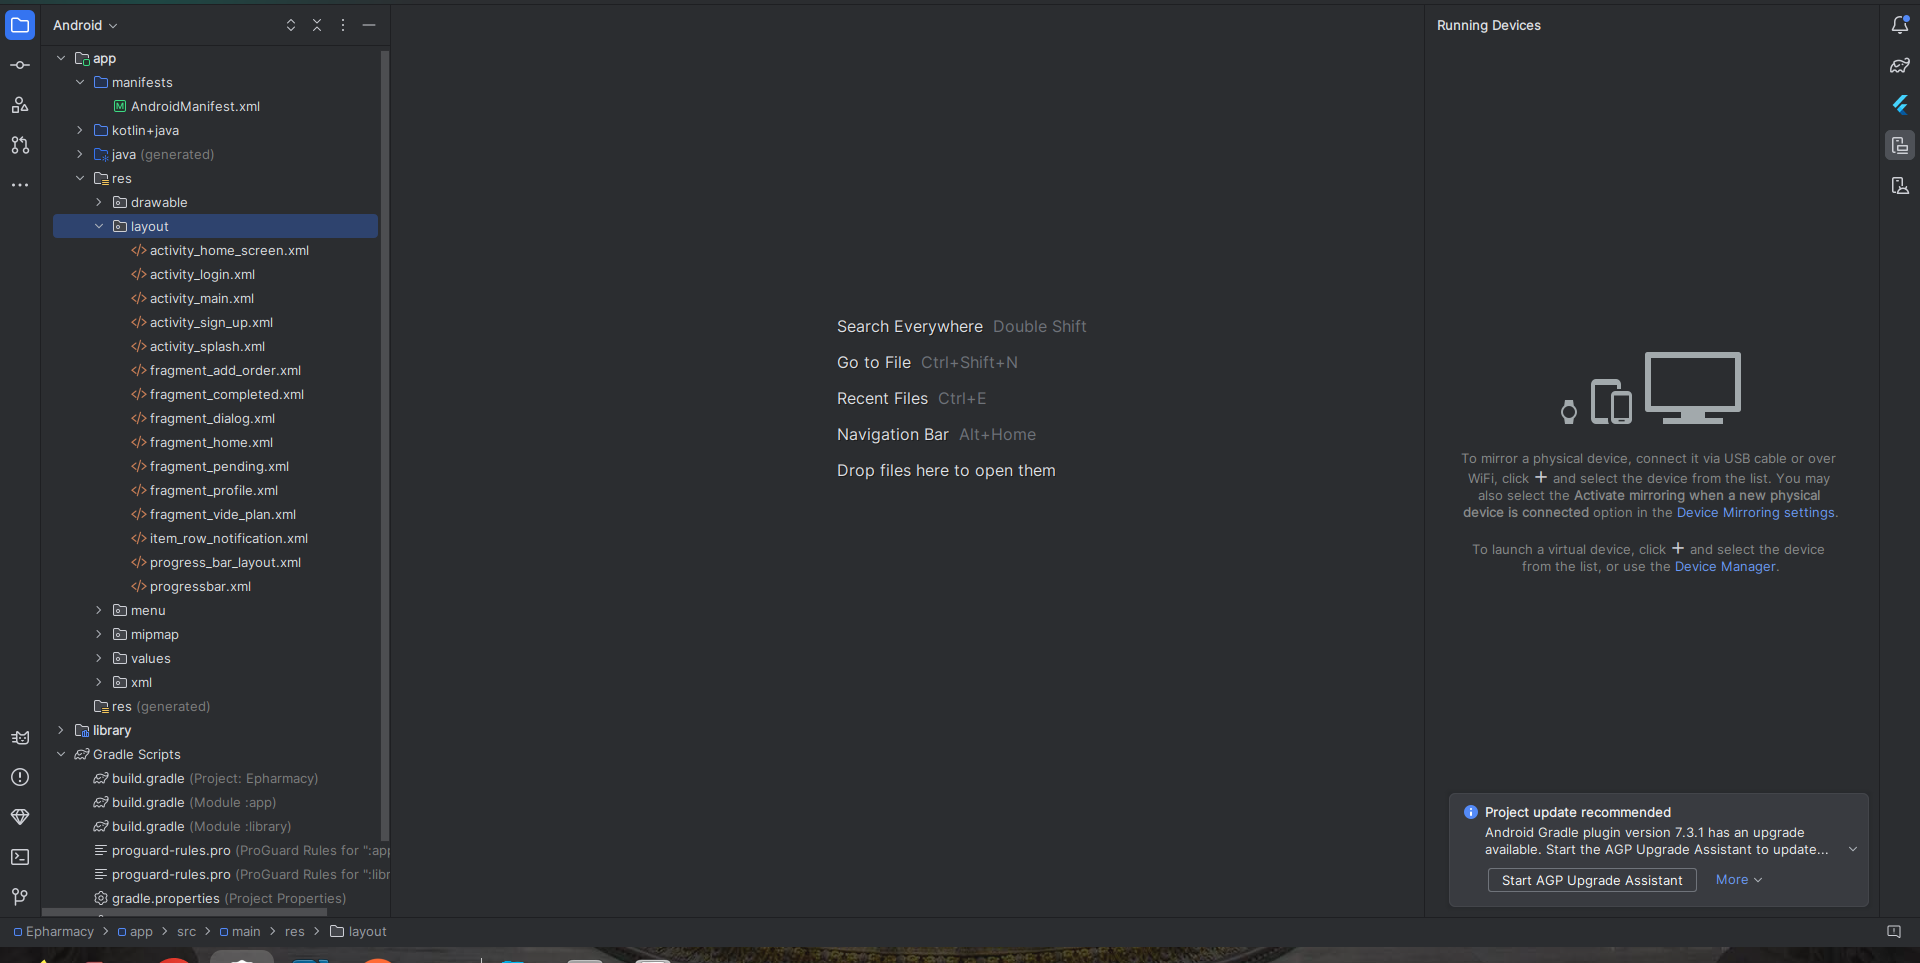
Step 4: Create an activity_main.xml file in the layout folder.


 <?xml version="1.0" encoding="utf-8"?>

 <RelativeLayout   xmlns:android="http://schemas.android.com/apk/res/android"

xmlns:app="http://schemas.android.com/apk/res-auto"

xmlns:tools="http://schemas.android.com/tools"

android:layout_width="match_parent"

android:layout_height="match_parent"

android:background="@color/black"

tools:context=".MainActivity">

 <ScrollView

android:layout_width="match_parent"

android:layout_height="match_parent"

android:layout_above="@id/idTILQuery"

android:layout_alignParentTop="true"

android:layout_margin="5dp"

android:padding="5dp">

 <LinearLayout

android:layout_width="match_parent"

android:layout_height="match_parent"

android:orientation="vertical">

//Question Textview 

 <TextView

android:id="@+id/idTVQuestion"

android:layout_width="match_parent"

android:layout_height="match_parent"

android:layout_marginTop="30dp"

android:padding="4dp"

android:text="Question"

android:textColor="@color/white"

android:textSize="17sp" />

//chat GPT response

 <TextView

android:id="@+id/idTVResponse"

android:layout_width="match_parent"

android:layout_height="match_parent"

android:layout_marginTop="5dp"

android:padding="4dp"

android:text="Response"

android:textColor="@color/white"

android:textSize="15sp" />

 </LinearLayout>

 </ScrollView>

 <com.google.android.material.textfield.TextInputLayout

android:id="@+id/idTILQuery"

android:layout_width="match_parent"

android:layout_height="wrap_content"

android:layout_alignParentBottom="true"

android:layout_margin="5dp"

android:hint="Enter your query"

android:padding="5dp"

android:textColorHint="@color/white"

app:hintTextColor="@color/white">

 <com.google.android.material.textfield.TextInputEditText

android:id="@+id/idEdtQuery"

android:layout_width="match_parent"

android:layout_height="match_parent"

android:drawableEnd="@drawable/ic_send"

android:drawableTint="@color/white"

android:ems="10"

android:imeOptions="actionSend"

android:importantForAutofill="no"

android:inputType="textEmailAddress"

android:textColor="@color/white"

android:textColorHint="@color/white"

android:textSize="14sp" />

 </com.google.android.material.textfield.TextInputLayout>

 </RelativeLayout>


Step 5: Create a MainActivity.kt or java file in your application.


 package com.validate.myapplication

 import android.content.Context

 import android.os.Bundle

 import android.util.Log

 import android.view.inputmethod.EditorInfo

 import android.widget.TextView

 import android.widget.TextView.OnEditorActionListener

 import android.widget.Toast

 import androidx.appcompat.app.AppCompatActivity

 import com.android.volley.RequestQueue

 import com.android.volley.Response

 import com.android.volley.RetryPolicy

 import com.android.volley.VolleyError

 import com.android.volley.toolbox.JsonObjectRequest

 import com.android.volley.toolbox.Volley

 import com.google.android.material.textfield.TextInputEditText

 import org.json.JSONObject


class MainActivity : AppCompatActivity() {

 // creating variables on the below line.

 lateinit var responseTV: TextView

 lateinit var questionTV: TextView

 lateinit var queryEdt: TextInputEditText

 var url = "https://api.openai.com/v1/completions"

override fun onCreate(savedInstanceState: Bundle?) {

super.onCreate(savedInstanceState)

setContentView(R.layout.activity_main)

// initializing variables on the below line.

responseTV = findViewById(R.id.idTVResponse)

questionTV = findViewById(R.id.idTVQuestion)

queryEdt = findViewById(R.id.idEdtQuery)

queryEdt.setOnEditorActionListener(OnEditorActionListener { v, actionId, event ->

if (actionId == EditorInfo.IME_ACTION_SEND) {

// setting response tv on below line.

responseTV.text = "Please wait.."

// validating text

if (queryEdt.text.toString().length > 0) {

// calling get response to get the response.

getResponse(queryEdt.text.toString())

} else {

Toast.makeText(this, "Please enter your query..", Toast.LENGTH_SHORT).show()

}

return@OnEditorActionListener true

}

false

})

}

private fun getResponse(query: String) {

// setting text for question on below line.

questionTV.text = query

queryEdt.setText("")

// creating a queue for request queue.

val queue: RequestQueue = Volley.newRequestQueue(applicationContext)

// creating a JSON object on the below line.

val jsonObject: JSONObject? = JSONObject()

// adding params to the json object.

jsonObject?.put("model", "text-davinci-003")

jsonObject?.put("prompt", query)

jsonObject?.put("temperature", 0)

jsonObject?.put("max_tokens", 100)

jsonObject?.put("top_p", 1)

jsonObject?.put("frequency_penalty", 0.0)

jsonObject?.put("presence_penalty", 0.0)

// on the below line making a json object request.

val postRequest: JsonObjectRequest =

// on the below line making a json object request.

object : JsonObjectRequest(Method.POST, url, jsonObject,

Response.Listener { response ->

// on the below line getting a response message and setting it to text view.

val responseMsg: String =

response.getJSONArray("choices").getJSONObject(0).getString("text")

responseTV.text = responseMsg

},Response.ErrorListener { error ->

Log.e("TAGAPI", "Error is : " + error.message + "\n" + error)

}) {

override fun getHeaders(): kotlin.collections.MutableMap<kotlin.String, kotlin.String> {

val params: MutableMap<String, String> = HashMap()

// adding headers on the below line.

params["Content-Type"] = "application/json"

params["Authorization"] =

"Bearer Enter your token here"

return params;

}

 } 

 // on the below line adding a retry policy for our request.

 postRequest.setRetryPolicy(object : RetryPolicy {

 override fun getCurrentTimeout(): Int {

 return 50000

 }

 override fun getCurrentRetryCount(): Int {

 return 50000

 }

 @Throws(VolleyError::class)

 override fun retry(error: VolleyError) {

 }

 })

 queue.add(postRequest)

 }

 }


Step 6: Output of application.


Hence, from the above step-by-step process you have learned all the aspects of how to create an AI app using OpenAI’s API. 

But how to make your chatbot platforms different from the others in the market?

The answer is simple: have a unique idea for app development. 

OpenAI’s API is a popular and strong tool for building AI-powered applications and can help your business improve decision-making, increase efficiency, and streamline customer service. And gained a competitive environment.


Happy coding!


365Bloggy May 7, 2024
Share this post
Tags
SUBSCRIBE THIS FORM


Archive